
Taking a screenshot on our mobile devices has become an important part of our often-daily routine. Whether it’s taking a picture of your social feed, sharing something weird happening on your phone, or just to take a screenshot on Snapchat. When it comes to tablets, screenshots are equally important. So how exactly do you take an iPad screenshot? Good question.
The good news is the process is pretty simple, and thanking taking a screenshot on iPad pretty much stays the same regardless of whether you’re using an iPad Pro, Mini, or a standard iPad.
Table of Contents
How to take a screenshot on an iPad
There are actually two ways to take a screenshot on an iPad. The first method is the easiest and most common, but won’t work for models like an iPad Pro that no longer have a home button, so keep reading below for those.
For now, any iPad with a home button works as follows.
Take a screenshot on your iPad using the sleep and wake buttons

Step 1. First you’ll want to locate the home and power button on your iPad. For those new to the iPad, the home button is located directly below the display on the front, and the power button can be found on the upper right side.
Step 2. To take an iPad screenshot with this method, you simultaneously depress the Home button and the power button. If you are an Android user, you may be in the habit of holding the two buttons down until the screen flashes to verify the capture. Do not do this on your iPad. Press the buttons and release almost immediately to take your screenshot. The screen will flash to verify your capture after the buttons are released. If you hold onto the buttons for too long, your iPad will simply power off.

Step 3. The iPad screenshot will now automatically be saved into your Photo gallery. To find it tap on the Photos app and swipe to the bottom to find the screenshot. From there, you will be able to take advantage of the built-in tools to edit the images. Perhaps you wish to crop and rotate, then change the colors to grey-scale and apply red-eye correction, I mean, why wouldn’t you?!? I jest, of course, but there is a solid set of basic editing tools to get you by.
Related: Best Photo Editing Apps for iPhone & iPad
How to take a screenshot on iPad Pro
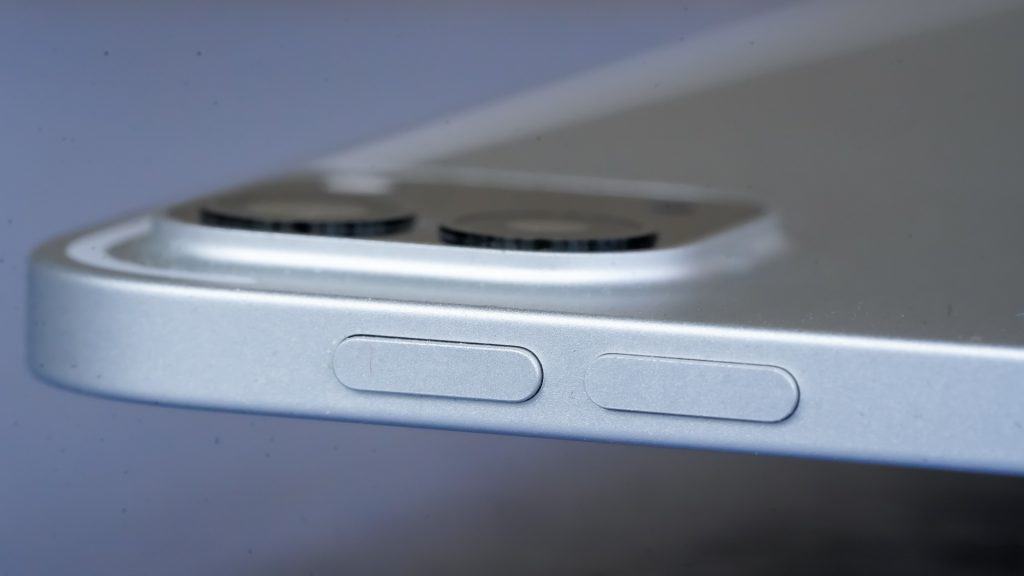
Take a screenshot on your iPad Pro using the sleep button and volume up button as follows:
- Press and hold the top button and the volume up button both at the same time.
- Release both buttons — you don’t need to hold onto them for long.
- After you take a screenshot, you should get a confirmation via a thumbnail appearing in the lower-left corner of your screen. Tap the thumbnail to open it or swipe left to dismiss it. It will disappear in time, too.
If you have any problems here, you have an option we discuss next using Assistive Touch. But it may be worth turning your iPad Pro on and off to power it down and turn it back on fresh to be sure it hasn’t locked up.
Take an iPad screenshot using Assistive Touch
While the two methods above are the most common ways to take a screenshot on iPad, you can also use Assistive Touch. This lets you perform complex tasks by selecting a few menu items. One of the things the feature allows you to do is take a screenshot without having to press a combination of buttons. If you’re reading this and you are unable to press multiple buttons at the same time for whatever reason, then taking a screenshot with Assistiv eTouch is the way to go.
The first thing you have to do is to turn Assistive Touch on. To do this you’ll want to go to Settings > General > Accessibility > Assistive Touch and make sure that the feature is toggled on.
Step 1. Provided Assistive Touch is now active, you can take iPad screenshots by going to Device > More.
Step 2. Tap screenshot. The iPad screen will flash for a moment and it will then capture.
Step 3. Your iPad screenshot is now in the Photos app and can be accessed from there.
So that’s it! As you can seeing, taking a screenshot on your iPad is actually pretty easy. But what about sharing the screenshot on your iPad? After all, if you took the screenshot, it’s probably to show off to someone!
How to share a screenshot on iPad
Step 1. Go into the Photos app and select the iPad screenshot you want to share.
Step 2. To share a screenshot on iPad you’ll want to tap the share icon in the lower left corner.
Step 3. Now you choose where you’ll want to share it, with options like Twitter, Facebook, and so on. You can also use email or AirDrop if you prefer.
And that’s if for sharing a screenshot on iPad!