
Capturing a screenshot is the easiest way to share what you see on the screen or save some information for later. Whether it’s something funny that you want to share with your friends or an error that you need to send to tech support, knowing how to screenshot always comes in handy.
Screenshotting on a Mac is a fairly easy process and if you know the right keyboard shortcuts, you can capture just about anything. It’s important to note that there are multiple native ways to take a screenshot on a Mac, and you can also use various apps for taking screenshots on a Mac.
Related: Best Video Editors for Mac
Table of Contents
Native Mac methods for taking screenshots
If you’re wondering how to take a screenshot on a Mac natively, here are four methods you can try.
Take a screenshot with the screenshot menu
The ability to tale a screenshot with the screenshot menu has been around since 2018 and it was first available in MacOS Mojave.
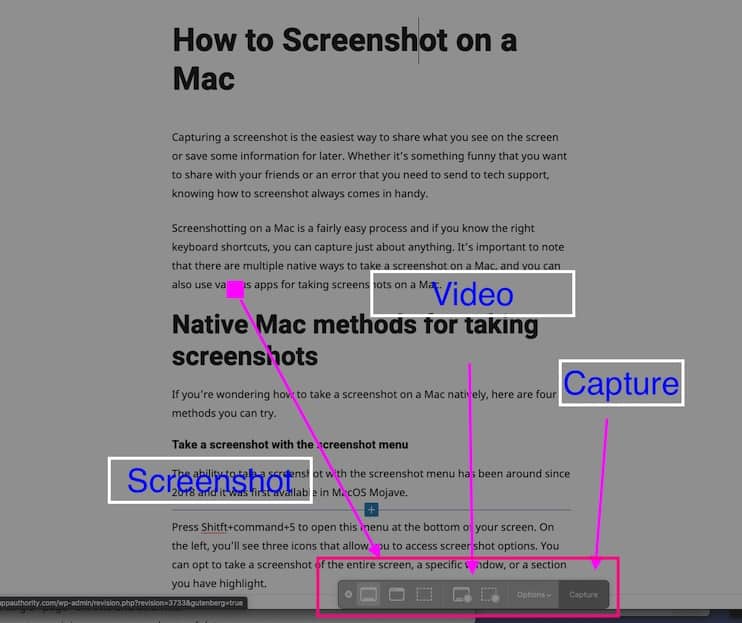
Press Shitft+command+5 to open this menu at the bottom of your screen. On the left, you’ll see three icons that allow you to access screenshot options. You can opt to take a screenshot of the entire screen, a specific window, or a section you have highlight.
On the right side of the screenshot menu, you’ll see options for recording a video of the entire screen or a highlighted section.
You can choose what to do with the screenshots menu by going to “Options” and choosing where to save the screenshot and how much time to pass between clicking on “Capture” and the screenshot being taken.
Take a screenshot of a highlighted section or window
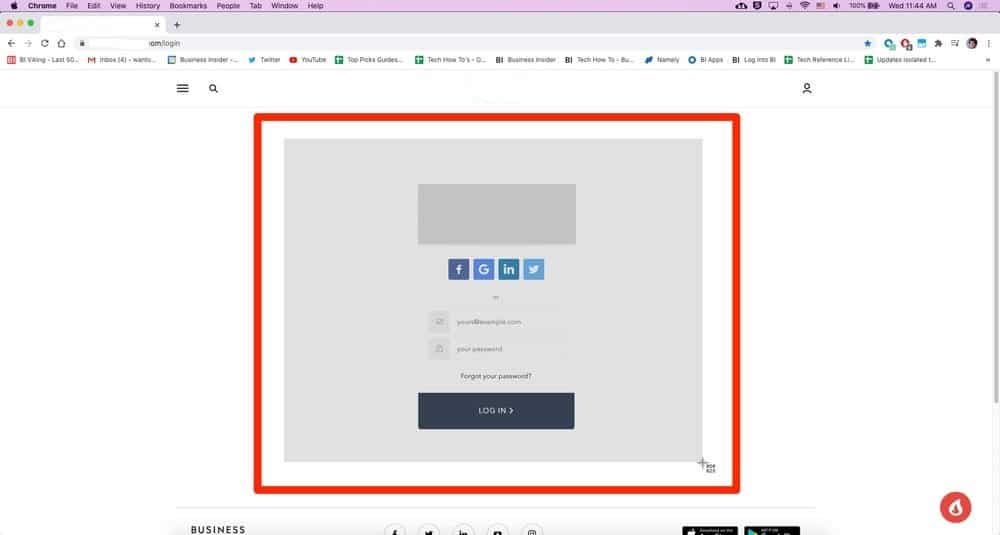
You can easily take a screenshot of just a highlighted section or a window on a Mac by pressing Shift+Command+4. You’ll see your mouse cursor changing into a crosshair that you can click and drag across the screen to create a highlighted box Once you let go of the mouse, everything in the box will be highlighted.
If you press on the spacebar after pressing Shift+Command+4, you’ll see the crosshair turning into a camera icon. You can use than to click on any open window and take a screenshot of it.
Take a screenshot of the entire screen
If you want to take a screenshot of your entire screen, you can press Shift+Command+3. This also works if you’re using multiple monitors and it will take screenshots of every monitor.
By default, a screenshot captured with Shift+Command+3 won’t include the mouse cursor, but you can enable this in the screenshot menu.
Take a screenshot of the Touch Bar
Owners of MacBooks with a Touch Bar can take a screenshot of it by pressing Shift+Command+6. This could come in handy for those moments when you want to show someone something on your Touch Bar. If you’re on an iMac or a MacBook that doesn’t have a Touch Bar, pressing that key combination won’t do anything.

Best Apps for taking a screenshot on Mac
There are multiple apps out there that allow you to take screenshots on Mac and they offer extra features that aren’t available on the native screenshot tool.
Here are the best apps for taking a screenshot on Mac.
1. Lightshot
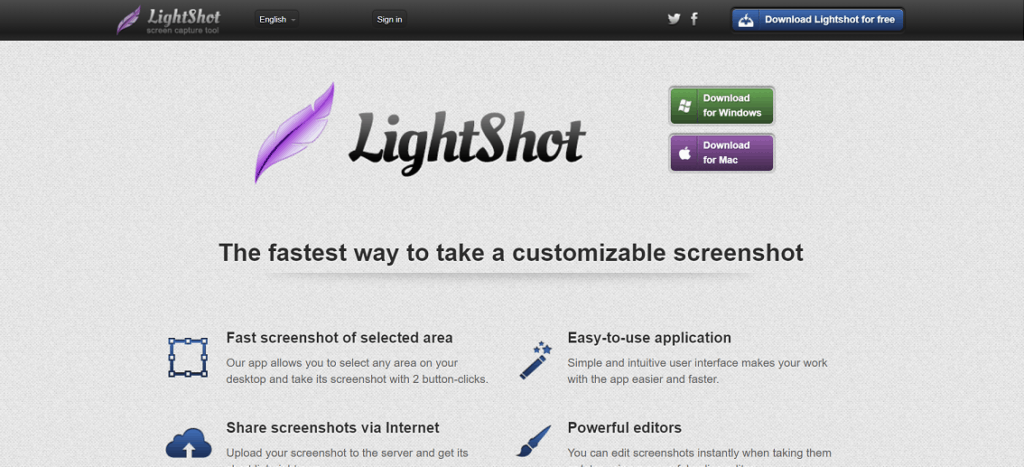
One of the most popular screenshot apps out there, Lightshot is lightweight and easy to use. It’s a quick way to take screenshots and save them directly on social media or in the cloud. It has numerous editing options and one of the unique features it offers includes similar image search, which lets users find similar images to a screenshot by searching them in Google.
Price: Free
What people think
Lightshot receives great reviews from users who love the very fast screen capture and the numerous editing options. A downside of the app is the lack of a separate editing screen.
What we think
Lightshot is the most comprehensive screenshot tool available for Macs. It’s a lightweight app that makes it easy to perform countless screen capture operations.
Score: 9.8/10
Download Lightshot Screenshot
2. Skitch by Evernote
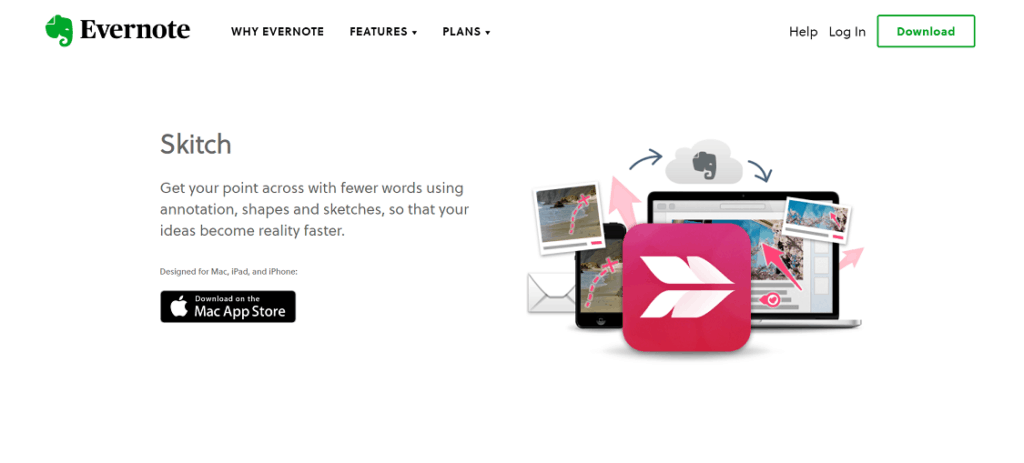
With this app, you can take screenshots from a full screen, window, or selected area, just like you could with Mac’s native screenshot tool. The features that make the app different, though, are mostly related to post-capturing. With Skitch, you can add anything from simple arrows and shapes to highlights and pixilation to the screen. The app makes it easy to save documents in multiple formats and save the snaps in the cloud if you’re an Evernote user.
Price: Free
What people think
Most reviews for Skitch by Evernote are positive, with users loving the ease of use and the fact that they can save the screenshots in eight different formats.
What we think
Skitch by Evernote is the perfect addition for your Mac if you’re an Evernote user because it makes it easy to upload screenshots to your notebooks.
Score: 9.4/10
Download Skitch by Evernote
3. Monosnap
Monosnap is a comprehensive screenshot tool for Mac that allows users to capture and edit video as well. You can capture video in multiple ways, including a specific area, full screen, or just an application window. You can also record the screen in GIF, blur sensitive content, and export and share the screenshots via Dropbox, Google Drive, and more.
Price: Free non-commercial plan, paid plans from $2.5 per month
What people think
Users typically praise Monosnap for the ease of use and appreciate that there’s virtually no learning curve with the software.
What we think
Monosnap is an excellent tool for those who need a powerful tool for screenshots on Mac but lags behind when it comes to video editing options.
Score: 9.3/10
Download Monosnap
FAQ
The default folder for screenshots you take on a Mac is the desktop. Once you take a screenshot using any of the screenshot shortcuts mentioned above, you’ll see the image on your desktop. It will be labeled as “Screen Shot” and followed by a timestamp.
If you want to crop a screenshot on a Mac in full screen, you can easily do so by pressing Shift+Command+3 and clicking the thumbnail in the corner to edit and crop the screenshot.
To crop a screenshot of any portion, press Shift+Command+4 and drag the crosshair to set the capture area. Crop the screenshot by releasing the mouse or touchpad.
Sometimes the shortcuts for taking a screenshot on a Mac won’t work. There are multiple things to try to solve this issue. First, restart your Mac, especially if you haven’t done so in a long time.
If that doesn’t solve the issue, go to “System Preferences” > “Keyboard & Mouse” > “Keyboard Shortcuts” and check whether the screenshots haven’t been assigned to something else. Also, make sure the shortcuts are activated.
Hold down the Control key while you take a screenshot to copy the screenshot you’re taking to the clipboard. Once you have the screenshot in the clipboard, you can paste it anywhere by pressing Command +V.
Keep in mind that the screenshot won’t be saved on the hard drive, so you’ll lose it if you don’t it paste anywhere.
If for some reason you can’t use your keyboard but you need to take a screenshot, you can do so in Preview. Launch the Preview App by using Launchpad or going to “Finder” > “Go” > “Applications”. When Preview opens, navigate to “File” and select “Take Screenshot”.