
While Google Docs doesn’t have a built-in tool to add a border automatically, you can still add one using a workaround.
You can add a border in Google Docs using a table or using an image. Here’s how to do it.
Table of Contents
Add a border in Google Docs with a table
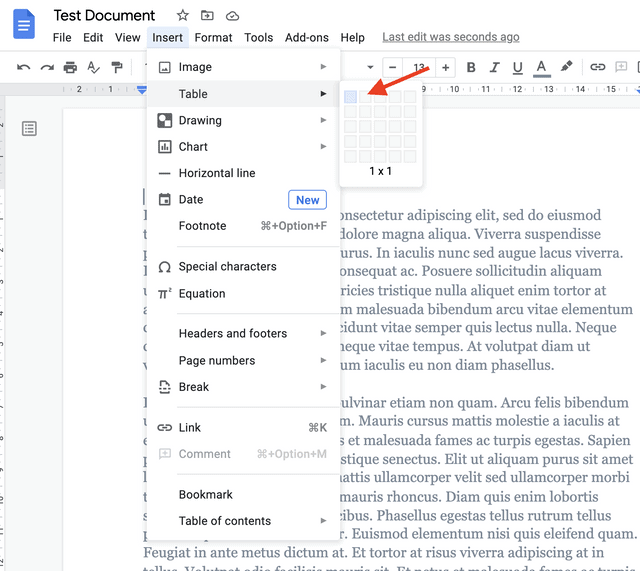
1. Go to “Insert” in the toolbar and click “Table”.
2. Click the upper-left square of the table to create a 1×1 cell.
3. Press “Return” on a Mac or “Enter” on a PC repeatedly until the cell is expanded all the way down to the page.

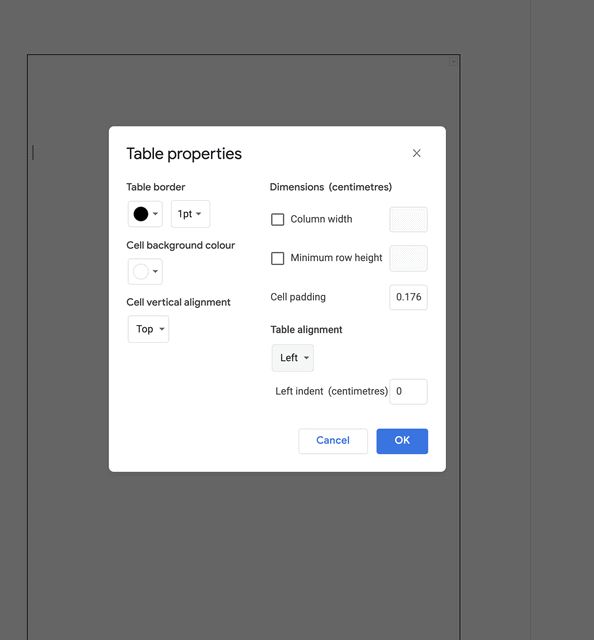
4. In the toolbar, click “Format” and then “Table”.
5. Click “Table Properties” to change the thickness and color of the cell. Click OK when you’re done.
Related: How to Track Changes in Google Docs
Add a border in Google Docs with an image
- Go to “Insert” in the toolbar and click “Drawing”.
- Click “New” and insert an image of a border from your computer, a URL, or Google Drive.
- Click “Select” once you have the image.
- Click the “Text Box” button to create a box inside the border.
- Add your text and click “Save and Close”.